
Expert Tips for Drywall Repair: Water Stain Removal
Feeling anxious about seeing watermarks on your walls or ceilings is common. These marks might indicate a leak, and locating its cause can be somewhat challenging. Indeed, pinpointing the cause is essential for resolving the problem and completely removing the watermarks. Consider hiring a professional for this job.
Nonetheless, if you’re interested in tackling the job of removing water stains, Handyman Services Bethesda of Bethesda offers some advice for you.
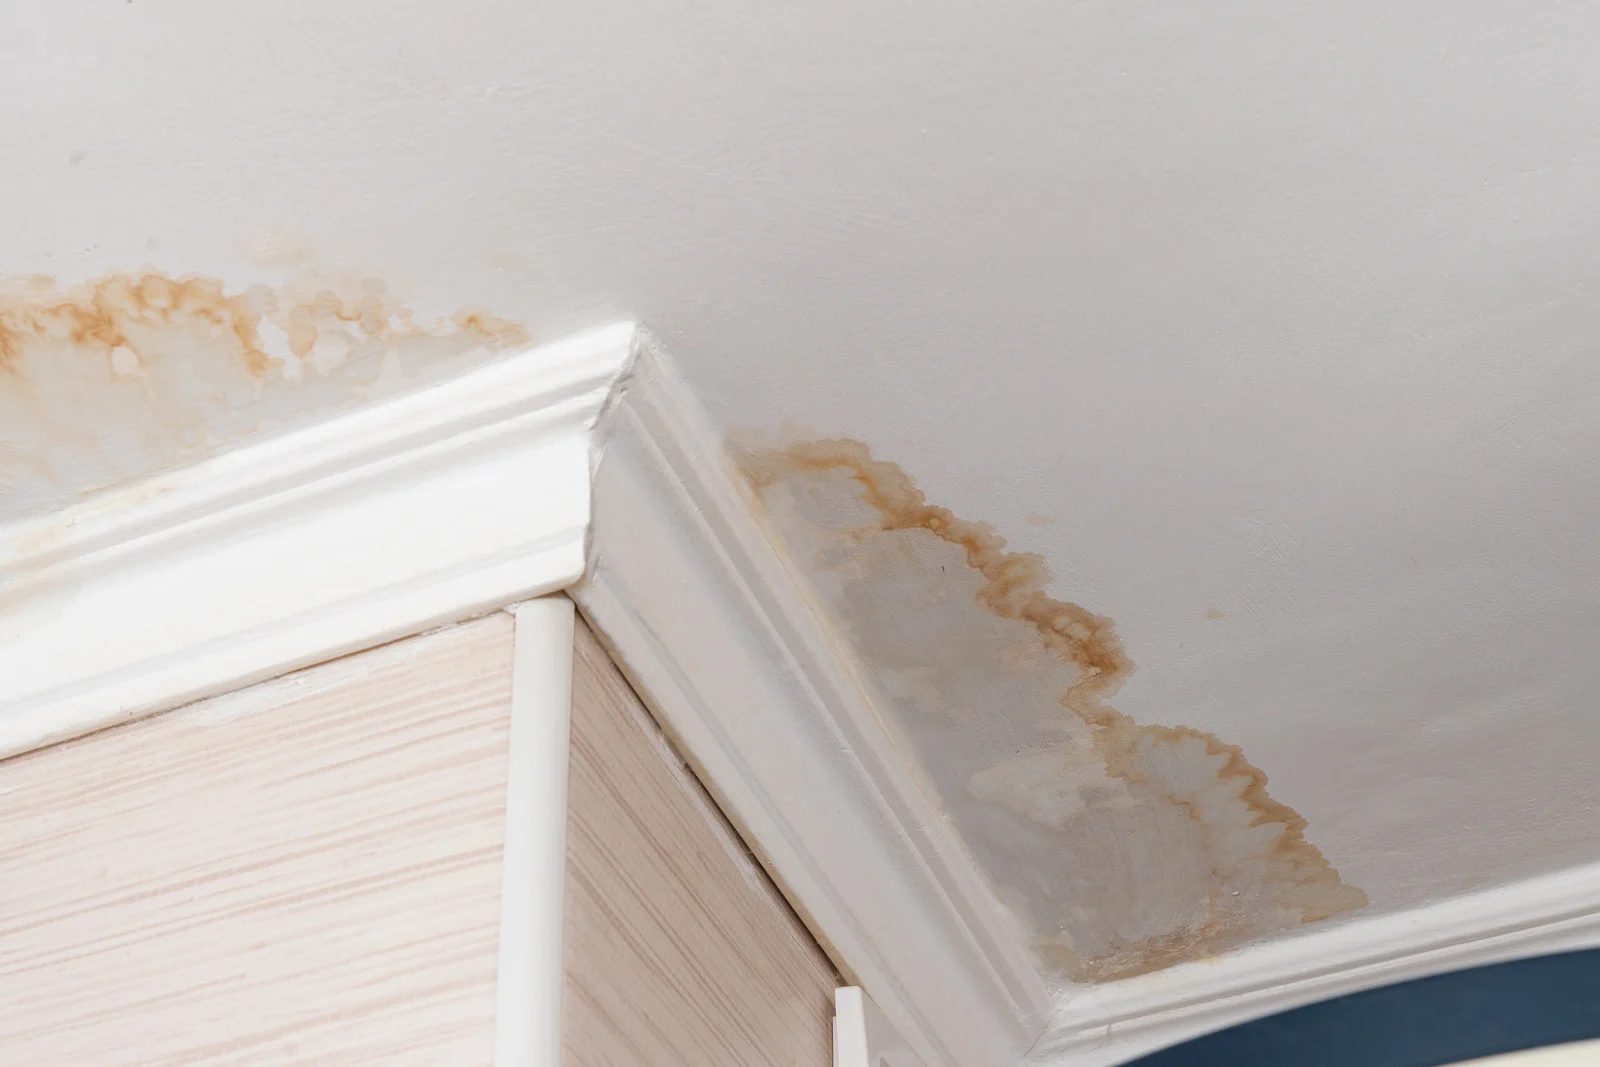
Getting Rid of Water Marks
Marks from water can show up as black, gray, green, or white, based on what’s causing them. To get rid of these marks, the first step is to make sure the stain is completely dry. You can speed up the drying process with fans, heat guns, or hair dryers. After that, look out for any indications of mold. Usually, these can be gotten rid of by scrubbing the surface with bleach or white vinegar and a gentle brush. If the mold keeps coming back, you might have to take additional steps to make sure the area is completely clean. It’s important to ensure the area is dry before you continue with any other tasks.
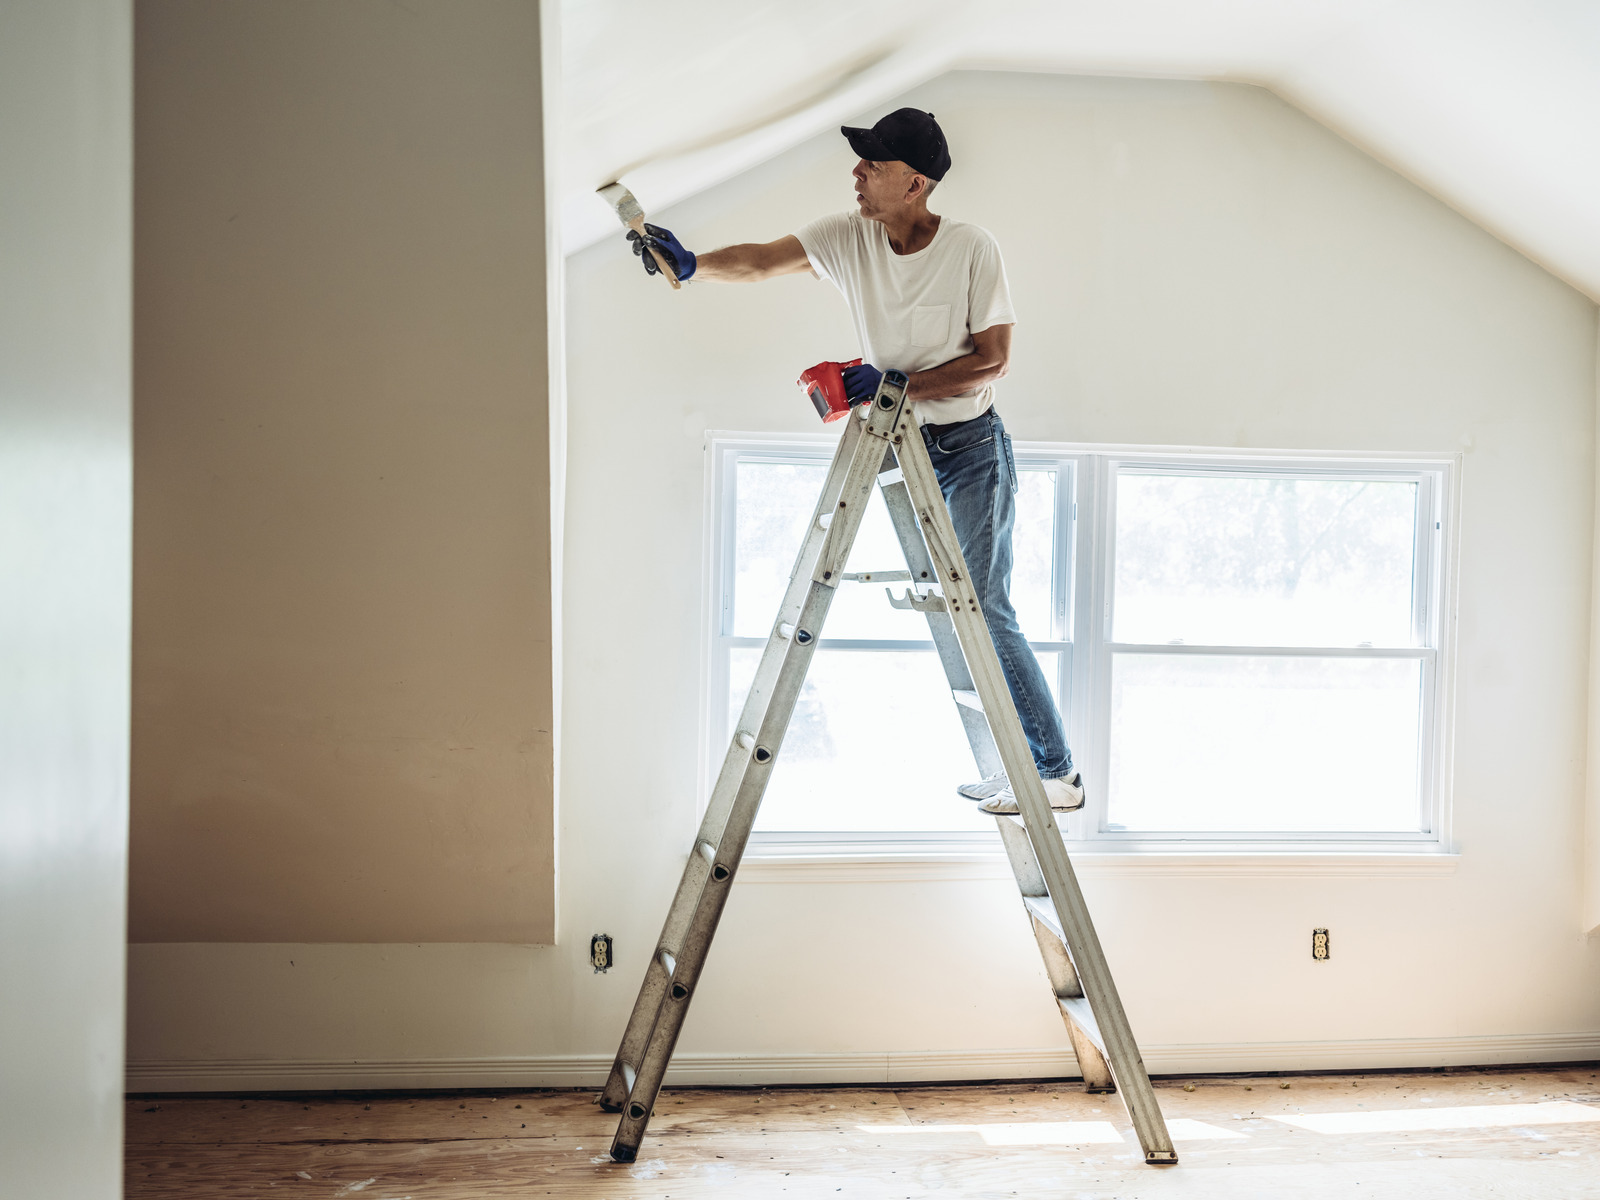
Finishing Touches
After removing any stains, mold, or fungus, you’re ready to begin applying a fresh coat of paint for a smoother appearance. Consider choosing paint that’s resistant to moisture, like damp-proof paint, for areas like bathrooms and kitchens where these issues are common. It’s crucial to apply the paint meticulously, starting with a base coat of plain white that’s also waterproof. Allow the initial coat to dry before adding the toner solution and subsequent coats. For extra protection against water damage, you might want to apply a waterproof latex sealant over the completed paint job.
Quickly Tackle Water Damage
Delaying action on water damage can lead to permanent harm to your ceiling, potentially necessitating the complete replacement of the affected area. This is why it’s important to tackle water stains immediately. Don’t forget to also identify and address the root cause of the water stains.
Handyman Connection of Winter Park is known for its exceptional service and high-quality work, ensuring your project is completed to the utmost standard. With decades of experience in the construction, repair, remodeling, and more sectors of the industry, we’re well-equipped to handle your needs.
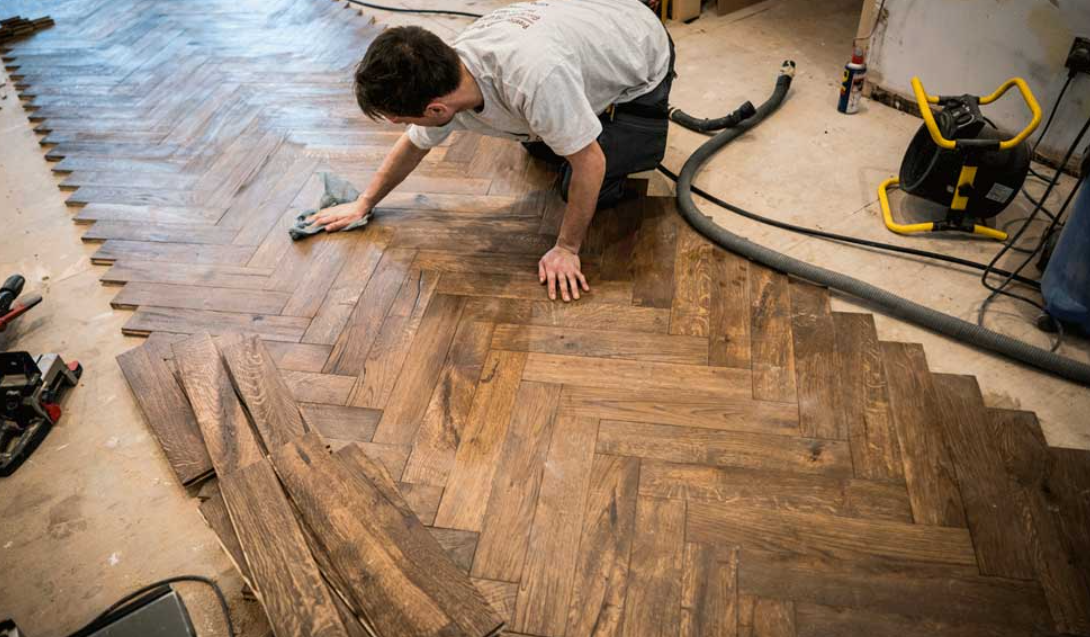
Dry Out the Area of Damage
Before repairing the drywall, it’s crucial to ensure that the area is completely dry. Use fans, dehumidifiers, or even natural ventilation to dry out the affected area thoroughly. Removing excess moisture is essential to prevent mold growth and ensure that your repair efforts are effective and long-lasting.
“Dry Out the Area” refers to the process of removing excess moisture from water-damaged drywall. This step is crucial before initiating drywall repairs to prevent mold growth and ensure the effectiveness of subsequent treatments. Utilize fans, dehumidifiers, or natural ventilation to speed up drying. Thoroughly drying the area helps maintain the structural integrity of the drywall and ensures that repairs, such as applying primer and joint compound, adhere properly for a durable finish.
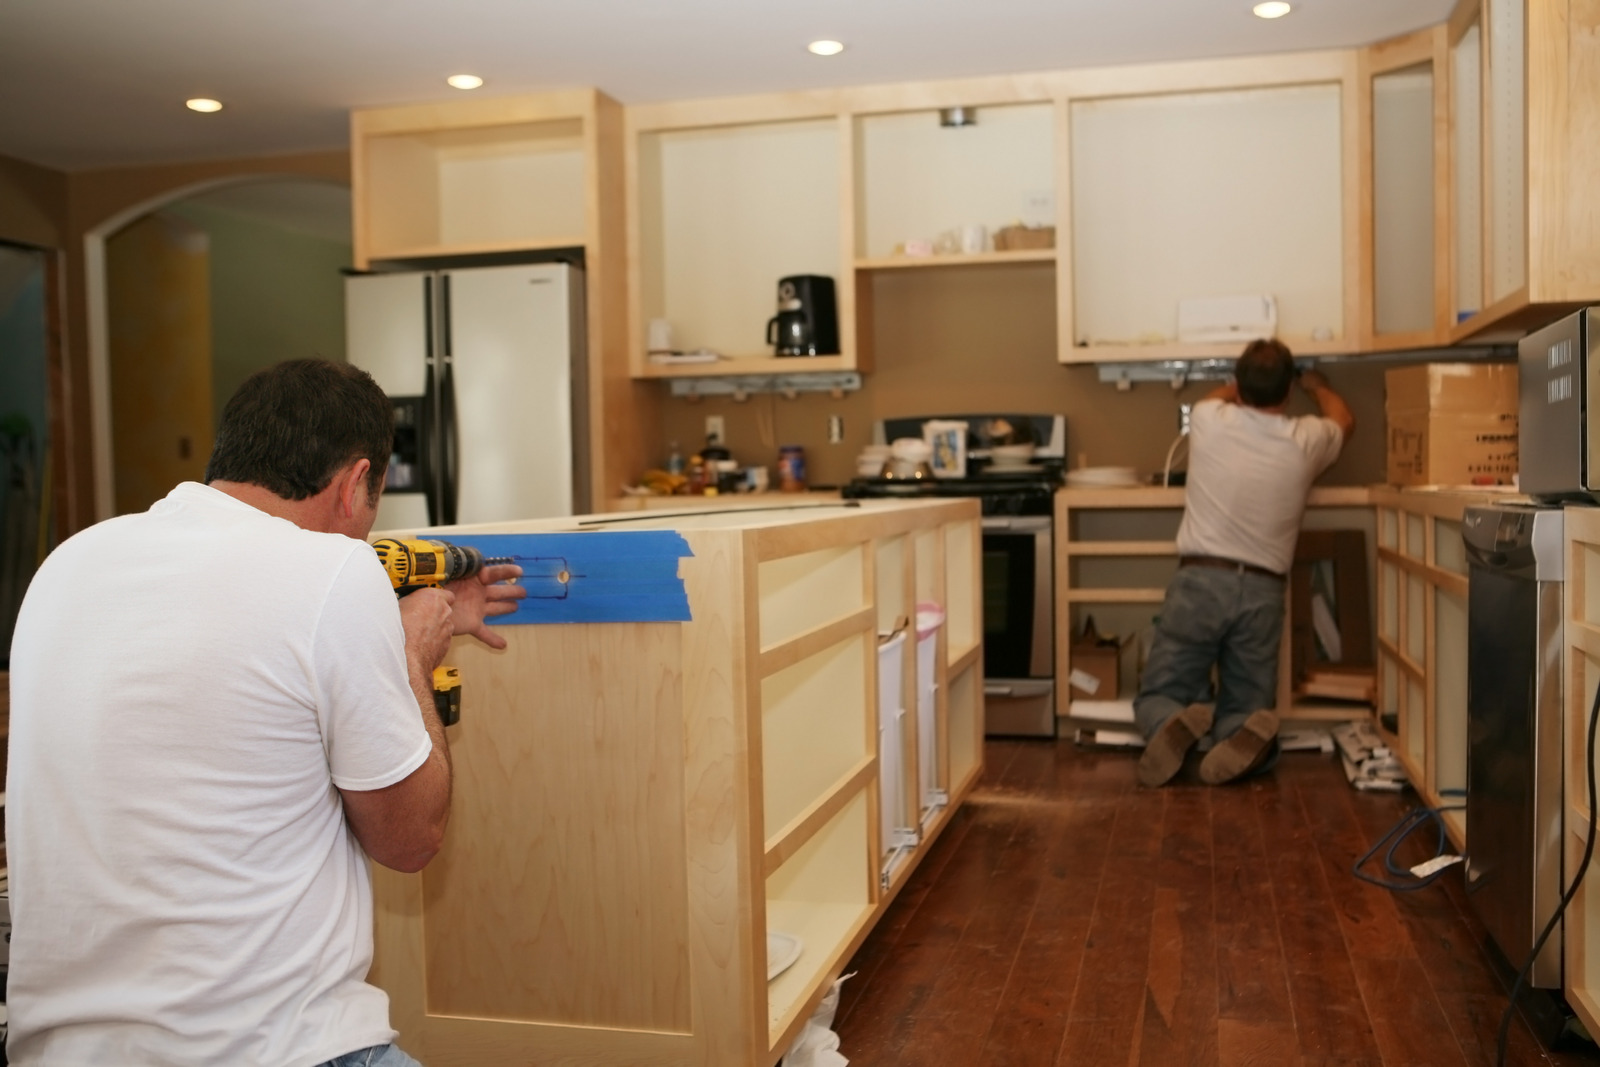
Prime and Paint
After the joint compound has dried, apply another coat of primer to the repaired area. Priming ensures that the repaired spot blends in with the rest of the wall and provides a smooth surface for painting. Once the primer is dry, paint the repaired area using paint that matches the color of the surrounding wall. Feather the edges of the paint to achieve a seamless finish.
It involves applying primer and paint to the repaired drywall surface. After the joint compound or patching material has dried completely, apply a coat of primer to seal the repaired area and ensure the adhesion of the paint. Once the primer is dry, apply paint that matches the surrounding wall color to blend the repair seamlessly. This final step not only restores the appearance but also protects the drywall from moisture and enhances its durability.
Monitor for Signs of Moisture
After completing the repair and restoration process, monitor the repaired area for any signs of moisture or recurring water stains. This includes checking for dampness, discoloration, or peeling paint, which may indicate ongoing water issues. Address any underlying problems promptly to prevent further damage to your drywall and maintain the integrity of your home’s structure.
Consider Professional Help
If you’re dealing with extensive water damage or if you’re unsure about handling the repairs yourself, consider seeking assistance from a professional drywall contractor or water damage restoration specialist. They can provide expert assessment, ensure thorough repair work, and help you identify and address any underlying issues that may have caused the water damage.
It suggested seeking assistance from experienced professionals for complex or extensive drywall issues. Professionals bring expertise in assessing and resolving water damage, ensuring thorough repairs, and minimizing future risks. Their knowledge of specialized tools and techniques can address underlying issues effectively, providing peace of mind and preserving the integrity of your home’s drywall and structure.
Conclusion
The conclusion summarizes the importance of following these expert tips for removing water stains from drywall. It emphasizes the need for careful assessment, proper preparation, and effective repair techniques to restore the drywall to its original condition. By addressing the root cause of the water damage and following these steps, homeowners can maintain a safe, aesthetically pleasing environment in their homes while preventing future issues. Call Now for Effective Drywall Results.